
VIRTUAL PARTS INSTALLATION GUIDE:
STEP 1
BROWSE THE GARAGE
Browse our wide selection of digital parts / files for use in your Live For Speed Editor!
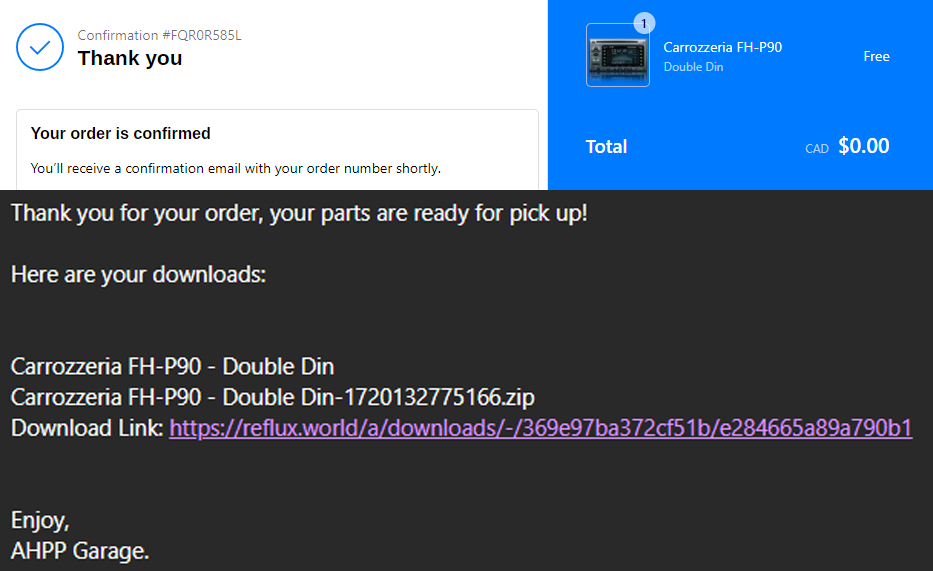
After checkout, File links will be sent to your email.
STEP 2
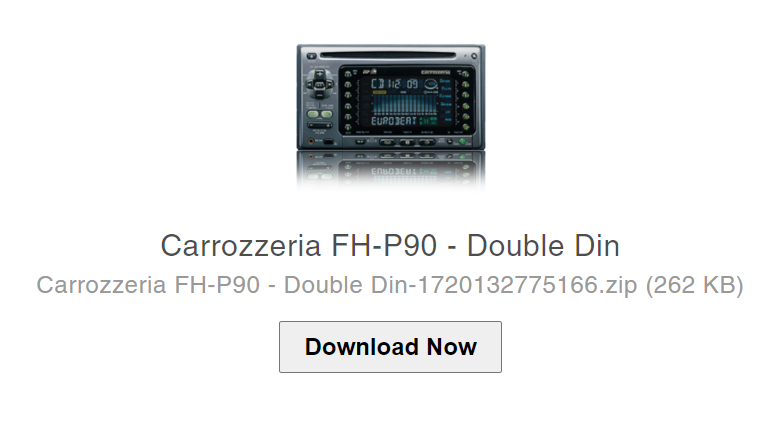
DOWNLOADING FILES
Clicking the email links will bring you to your personal download page on Reflux.world , click "Download Now" to begin downloading the model.

STEP 3
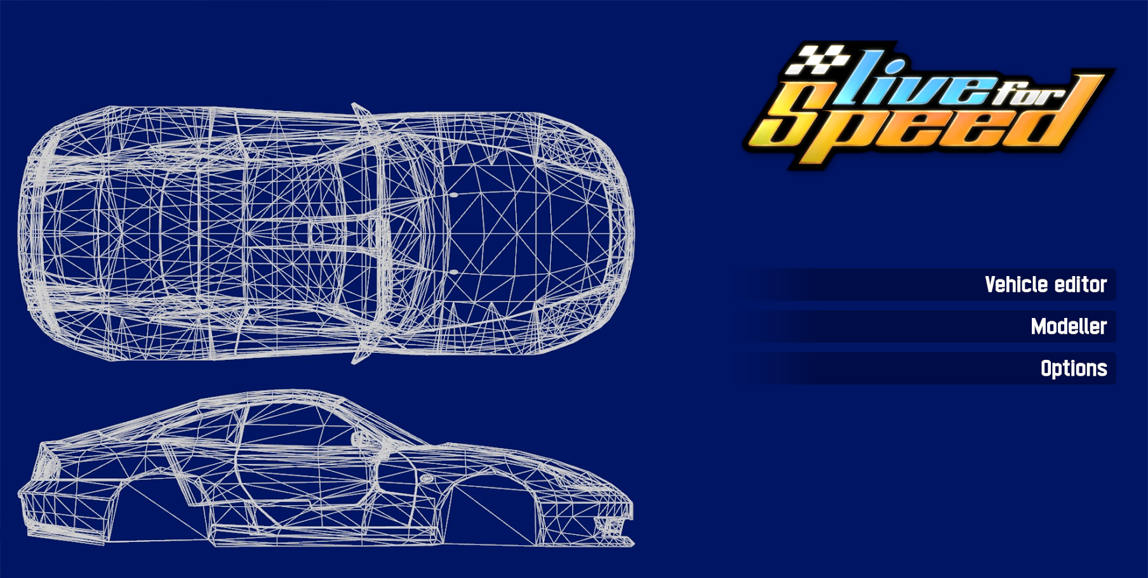
INSERTING FILES INTO YOUR LFS_EDITOR FOLDER
After downloading all part files, you will then want to move them into your LFS Editor software.
Navigate to your LFS_EDITOR folder and Open your data folder, you will be shown a list of folders all corresponding to different areas of your LFS editor.
You can follow this guide below to insert your new files into their corresponding folders:
- .sre & .dsh files go to the 3dob folder
- .png files go to the png folder
- .whl files go to the whl folder
- .wxs files go to the whl folder
- .eng files go to the engine folder
- .frm files go to the frame folder
- .veh files go to the veh folder
- .obj files go to the obj folder
STEP 4
FINISHED
Your AHPP parts should now be available in your LFS Editor program!
Any questions regarding downloads, you can visit the LFS Editor Wiki here: https://en.lfsmanual.net/wiki/LFS_Editor